

Mintion Nozzle Camera Installation Guide
Update: 2024-4-11
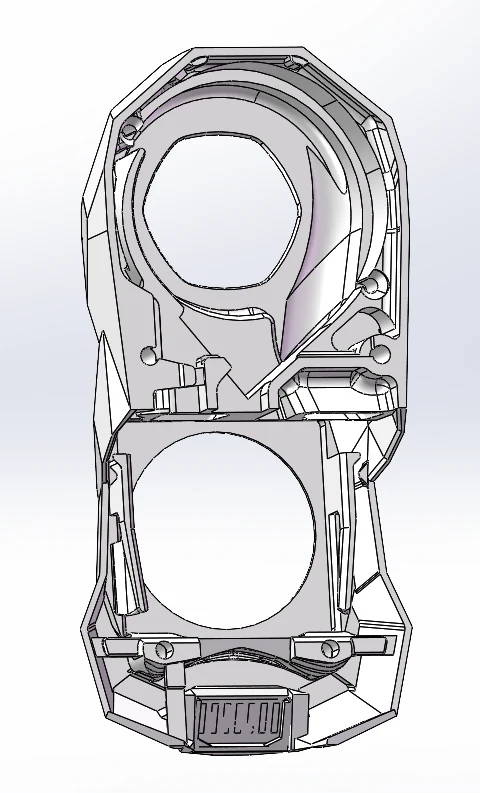
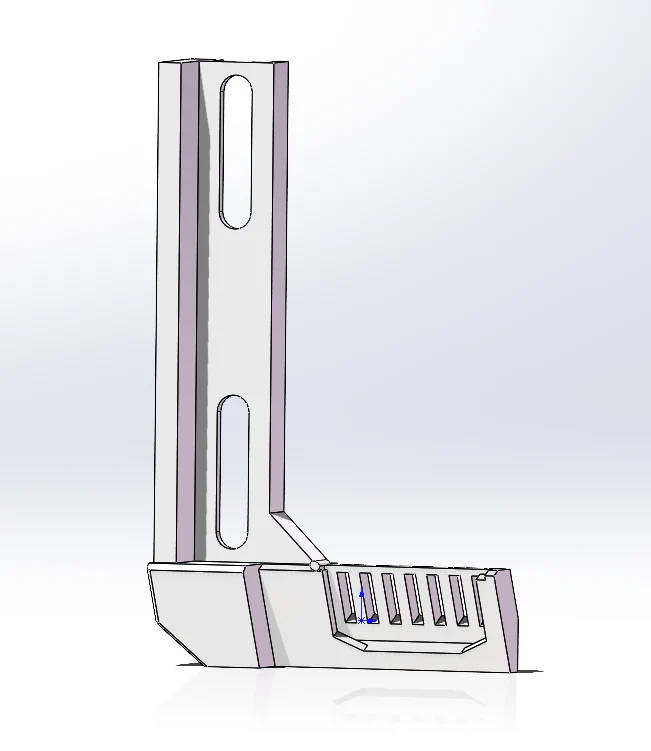
1. Download and Print the Bracket
Please download the corresponding print file according to your printer model. It is recommended to use ABS filament for printing. These are the recommended settings:
Layer Height: 0.2mm
Extrusion Width: 0.4mm, forced
Infill Percentage: 40%
Infill Type: grid, gyroid, honeycomb, triangle, or cubic
Wall Count: 4
Solid Top/Bottom Layers: 5
Supports: NONE
2. Installation Tutorial Video
Voron StealthBurner
Prusa i3 MK3+
Be careful as the ribbon cable is easily torn; pressing down and bending it for folding can damage the cable.
3. Connect Nozzle Camera to Raspberry Pi

If the video stream flickers, it may be due to strong electromagnetic interference in the environment. Try removing the source of interference, or use a USB cable with stronger anti-interference capabilities.
4. Organize USB cables

Use cable ties or drag chains to secure the cable, and be mindful to avoid motion interference issues with the machine due to the cable.
5. Install and use AI detection function
Cooperating with Obico, a well-known smart AI detection provider in the 3d printing industry, this nozzle camera will make it much easier to access Obico's First Layer AI Detection to have smart detection for your 3d printer. (3 Months free to use the AI detection with Mintion Nozzle Camera) You can refer to this document to install and use Obico AI: https://app.obico.io/ent/celestrius_alpha_enroll/
